Conditional Visibility in No-code
No-code/low-code
Learn how conditional visibility in no-code platforms enhances app interactivity by showing or hiding elements based on user actions or data.
Conditional visibility is a key feature in no-code platforms that lets you show or hide elements based on user actions or data. This helps you build interactive and personalized apps without writing code. Many no-code tools use this to improve user experience and app functionality.
This article explains what conditional visibility is, how it works, and why it matters. You will learn practical tips to use conditional visibility effectively in your no-code projects.
What is conditional visibility in no-code platforms?
Conditional visibility means showing or hiding parts of your app depending on certain rules or conditions. These conditions are usually based on user input, data values, or app states. It helps make apps smarter and more responsive without coding.
By using conditional visibility, you can control what users see at different times, making your app simpler and more user-friendly.
- Dynamic content display: Conditional visibility allows your app to change what is visible based on user choices, making the experience more relevant and engaging.
- Rule-based control: You set rules that decide when elements appear or disappear, giving you precise control over your app’s interface.
- Improved usability: Hiding unnecessary elements reduces clutter and guides users through your app smoothly.
- No coding required: You can create complex visibility logic using simple visual tools, perfect for non-developers.
Conditional visibility is a powerful tool that helps you tailor your app’s interface to user needs without complicated programming.
How do no-code platforms implement conditional visibility?
No-code platforms use visual editors and logic builders to let you create visibility rules easily. These platforms provide interfaces where you select elements and define when they should be visible based on conditions.
Most no-code tools support conditions based on data fields, user roles, or interactions like button clicks. This makes it flexible to design many types of apps.
- Visual rule builders: Platforms offer drag-and-drop interfaces to create visibility conditions without writing code, simplifying the process.
- Data-driven conditions: You can base visibility on data values, such as showing a message only if a user’s status is active.
- User role checks: Some tools let you show elements only to certain user groups, enhancing security and personalization.
- Event triggers: Visibility can change in response to user actions like clicking buttons or filling forms, making apps interactive.
These implementations make conditional visibility accessible and powerful for all users, regardless of technical skill.
Why use conditional visibility in your no-code app?
Conditional visibility improves your app’s design and user experience. It helps you create cleaner interfaces and guide users through tasks efficiently. This feature is essential for building professional and user-friendly no-code apps.
Using conditional visibility also helps reduce errors by hiding irrelevant options and focusing user attention.
- Enhanced user experience: Showing only relevant elements keeps users focused and reduces confusion, improving satisfaction.
- Cleaner interfaces: Hiding unnecessary parts makes your app look simpler and more professional.
- Personalization: You can tailor content based on user data or preferences, making the app feel customized.
- Reduced errors: By hiding invalid options, you prevent users from making mistakes or choosing wrong actions.
Overall, conditional visibility helps you build apps that are easier to use and more effective at meeting user needs.
What are common use cases for conditional visibility?
Conditional visibility is useful in many scenarios across different app types. It helps you create dynamic forms, personalized dashboards, and interactive workflows without coding.
Understanding common use cases can inspire you to apply this feature effectively in your projects.
- Form field display: Show or hide form inputs based on previous answers to simplify data entry and improve clarity.
- User onboarding: Display different instructions or options depending on the user’s progress or role.
- Dashboard customization: Reveal specific charts or data panels only to users with certain permissions or preferences.
- Conditional navigation: Control menu items or buttons visibility to guide users through workflows step-by-step.
These use cases demonstrate how conditional visibility can make your no-code apps more flexible and user-centered.
How to set up conditional visibility in popular no-code tools?
Most no-code platforms have straightforward ways to add conditional visibility. The exact steps vary but usually involve selecting an element and defining visibility rules using built-in editors.
Knowing how to use this feature in your chosen tool will speed up your app development and improve results.
- Bubble: Use the “Conditional” tab on elements to add expressions that control visibility based on data or states.
- Adalo: Set visibility rules in the component properties by linking them to user data or app variables.
- Glide: Use visibility conditions in the layout editor to show components only when certain conditions are met.
- Webflow: Integrate interactions and custom code to toggle element visibility based on user actions or data.
Each platform offers unique tools, but all make conditional visibility accessible for no-code creators.
What are best practices for using conditional visibility effectively?
To get the most from conditional visibility, follow best practices that keep your app clear and maintainable. Thoughtful use of this feature prevents confusion and technical issues.
Planning your visibility logic carefully helps you build better apps faster.
- Keep conditions simple: Use clear and straightforward rules to avoid complex logic that is hard to debug or maintain.
- Test thoroughly: Check all visibility scenarios to ensure elements appear and hide as expected for different users and data.
- Document logic: Write notes or comments explaining your visibility rules to help future updates or team collaboration.
- Use consistent naming: Name your data fields and variables clearly to make visibility conditions easier to understand and manage.
Following these practices will help you create reliable and user-friendly no-code apps using conditional visibility.
Can conditional visibility impact app performance?
Conditional visibility can affect app performance if used excessively or with complex conditions. Each visibility check requires processing, which may slow down the app on some platforms.
However, when used wisely, conditional visibility improves user experience without noticeable performance issues.
- Minimal impact with simple rules: Basic visibility conditions usually do not slow down apps and run smoothly on all devices.
- Complex logic caution: Using many nested or heavy conditions can increase load times and responsiveness issues.
- Optimize data queries: Efficient data handling reduces delays caused by visibility rules dependent on large datasets.
- Test on target devices: Always check performance on the devices your users will use to catch any slowdowns early.
By balancing visibility features and performance, you can build fast and dynamic no-code apps.
Conclusion
Conditional visibility in no-code platforms lets you create dynamic and personalized apps without coding. It helps you control what users see based on rules, improving usability and engagement.
By understanding how to implement and optimize conditional visibility, you can build better no-code apps that feel professional and responsive. Use this feature thoughtfully to enhance your projects and deliver great user experiences.
FAQs
What types of conditions can I use for visibility?
You can use conditions based on user input, data values, user roles, or app states. Most platforms support logical operators like equals, contains, or greater than for flexible rules.
Is conditional visibility secure for sensitive data?
Conditional visibility hides elements visually but does not secure data. Use proper backend security and permissions to protect sensitive information beyond just hiding UI elements.
Can I combine multiple conditions for visibility?
Yes, most no-code tools allow combining conditions with AND/OR logic to create complex visibility rules tailored to your app’s needs.
Does conditional visibility work on mobile devices?
Conditional visibility works on mobile apps created with no-code platforms, ensuring dynamic interfaces adapt well to different screen sizes and user interactions.
How do I debug visibility issues in my app?
Test all scenarios, use platform debugging tools, and simplify conditions if needed. Documenting your rules also helps identify and fix visibility problems quickly.
Related Glossary Terms
- Filter Expression in No-Code: A logical rule that narrows down a dataset by matching records against specific conditions and criteria.
- Sort Expression in No-Code: A rule that arranges records in a specific order based on field values, such as alphabetical, numerical, or date-based sorting.
- State in No-Code: A stored value within your no-code application that tracks the current condition or status of a page, element, or workflow.
- Element Action in No-Code: A behavior assigned to a visual element that defines what happens when a user interacts with it.
%20(Custom).avif)
FAQs
What does conditional visibility mean in no-code?
Which no-code platforms support conditional visibility?
How does conditional visibility improve user experience?
Can conditional visibility affect app performance?
What are common use cases for conditional visibility?
How do I test conditional visibility in my no-code app?
Related Terms
See our numbers
315+
entrepreneurs and businesses trust LowCode Agency
Investing in custom business software pays off
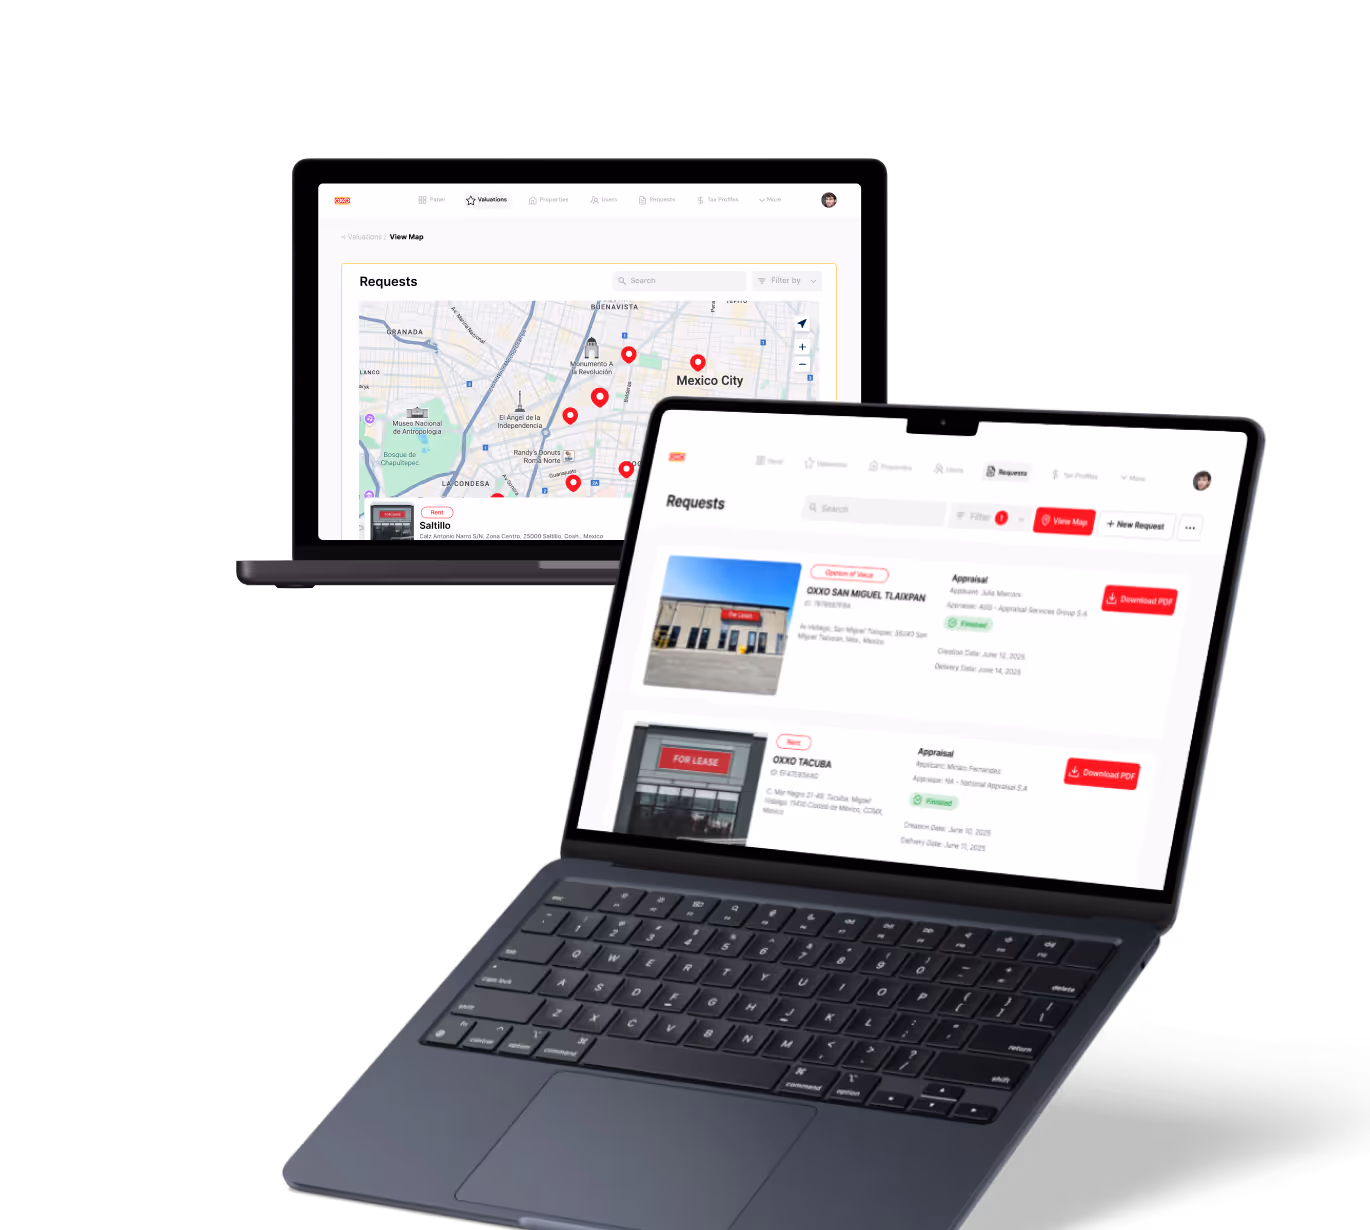
We were managing property valuations across multiple brands, and the complexity was overwhelming our traditional processes. Every day of delay in property evaluation meant potential lost revenue and competitive disadvantage.
15,000+
property valuations managed through centralized platform
40%
reduction in valuation processing time

J.Antonio Avalos
,
Product Manager Lead
OXXO